Whether you’re a seasoned tattoo artist or an aspiring enthusiast, using transfer paper is a fundamental technique in the tattooing process.
Unless you’re relying solely on your freehand technique and drawing your designs directly on the skin of your clients with marker, transfer paper serves as a crucial tool for transferring a design onto the skin before the tattooing begins.
This is what allows you to refine your design before getting down to the actual inking.
In this beginner’s guide, we’ll explore the ins and outs of using transfer paper for tattooing.
Summary
1. What is Transfer Paper?

Transfer paper, also known as stencil paper, is a thin, semi-transparent sheet coated with a layer of waxy or carbon-like substance on one side.
Its primary purpose is to transfer a design from a stencil onto the skin, providing a guide for the tattoo artist during the inking process.
That is achieved by placing the stencil on a region of the skin which was first prepared by spreading transfer gel.
Transfer paper comes in various types, including thermal transfer paper, hectograph paper, and freehand transfer paper.
2. Materials Needed
Before diving into the tattooing process, gather the necessary materials:
- Transfer paper (thermal or hectograph)
- Tattoo stencil design
- Skin-safe stencil transfer gel
- Skin cleanser
- Gloves
- Razor or shaver
- Pen or marker
- Scissors
If you’re looking for the materials, here are our top picks for the main ingredients:
Cridoz Tattoo Transfer Paper
Dynamic Color Co’s Transfer Gel
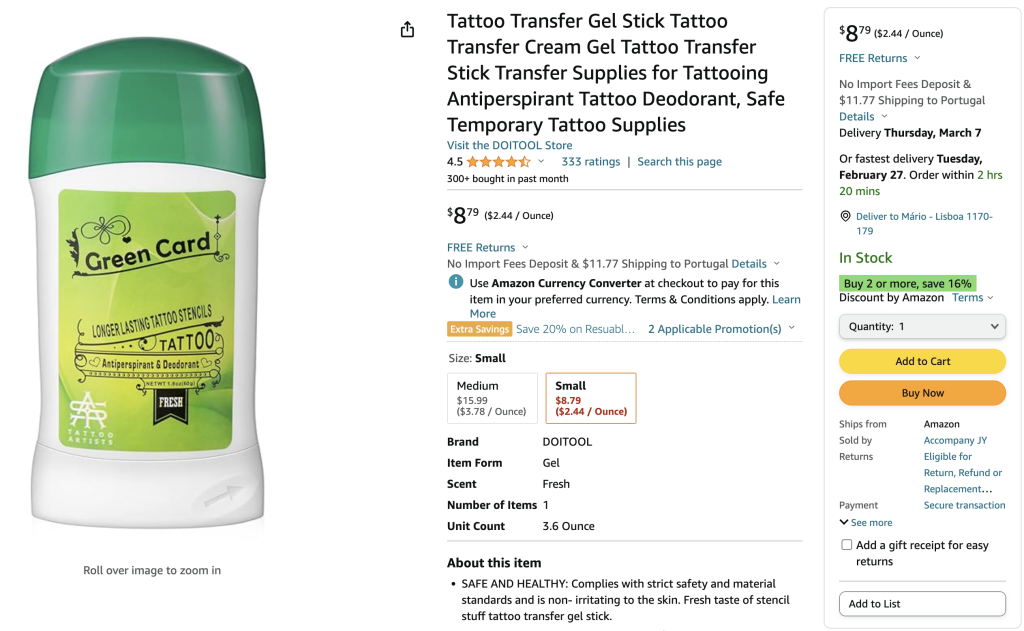
Green Card Tattoo Transfer Gel Stick
Once you have everything you need, it’s time to get started on the process.
3. Step-by-Step Guide

3.1 Create or Obtain the Design
Either design your tattoo or choose a pre-made design.
Ensure the design is the right size and scale for the intended placement on the skin, as it will be transferred exactly as it is to the stencil.
3.2 Transfer the Design onto Transfer Paper
There are two main ways of transferring your design to the transfer paper.
One is doing it by hand, and the other is by using a stencil printer.
3.2.1 Hand Transfer
a. Place the transfer paper, waxy side down, on a flat surface
b. Secure the stencil design on top of the transfer paper using tape to prevent it from shifting during the transfer process
c. Trace the design onto the transfer paper using a pen or marker with firm, even pressure
3.2.2 Stencil Printer
a. Send a digital version of your design to the printer. Make sure it’s in the right size and orientation
b. Adjust the printer to the correct paper type. Most printers use a thermal process so you’ll likely need thermal transfer paper
c. Print out your design
If you need help finding a reliable stencil printer, refer back to our 2024 review list of the best options available in the market.
3.3 Prepare the Skin for Transfer
a. Shave the area of skin where the tattoo will be applied, if necessary, to ensure a smooth surface for the transfer
b. Allow the skin to dry completely before proceeding
c. Spread a thin layer of transfer gel and let it dry
3.4 Apply the Transfer
a. Cut out the traced design from the transfer paper using scissors, leaving a small border around the edges
b. Peel off the protective backing from the transfer paper to expose the waxy side with the design
c. Place the exposed waxy side of the transfer paper onto the skin in the desired location
d. Press firmly on the entire design, ensuring full contact with the skin
3.5 Transfer the Design onto the Skin
a. Gently remove the transfer paper from the skin after a few seconds, ensuring the design has transferred completely
b. If any areas of the design appear faint or incomplete, reapply pressure to those areas or touch up with a pen or marker
3.6 Allow the Stencil to Dry
Allow the stencil to dry completely before beginning the tattooing process to prevent smudging or fading.
3.7 Begin Tattooing
With the stencil in place as a guide, begin tattooing according to your preferred technique and style.
4. Conclusion
Using transfer paper is an essential step in the tattooing process, enabling tattoo artists to accurately transfer designs onto the skin before inking begins.
By following this beginner’s guide, you can master the art of using transfer paper and embark on your tattooing journey with confidence.

Remember to prioritize safety and cleanliness throughout the process to ensure the best possible outcome for both the artist and the client.
Got any doubts, suggestions or ideas for collaborations? Feel free to email us at [email protected].


[…] How To Use Transfer Paper: A Beginner’s Guide […]