Tattoos are an awesome addition to the aesthetic expression of one’s uniqueness and singularity.
But even though they are a cosmetic improvement, when you think about it their crafting also closely resembles a medical procedure, involving needles and blood and antiseptics, making it a complex event.
In the end, getting a tattoo has just as much to do with art as it does with health, with many concerns to take into consideration: the meaning of the artwork, the body part, the chosen artist, the hygiene, the aftercare…
While for some this might be a no-brainer, dismissing the worries and just embracing the thrill of it, many might find the whole process tricky and delicate, and feel unsure about how everything goes down.
If this is your case, this guide is meant to walk you through all the steps of getting a tattoo, so that your mind may be put at ease and you may venture through the world of ink and needles fearlessly.
Step 1: Inspiration and Research
While reflecting and daydreaming about your tattoo might be considered the earliest step in the process, doing some active research will definitely help inspire your imagination.
When you do that, it’s important to realize that a tattoo is first and foremost a new body mark, similar in effect to a scar or a mole or a sign – however bigger and prettier.
Before you’re able to read that inspirational quote on your forearm, relate to the lion on your biceps, or understand all the animes intertwined on your leg sleeve, you get to perceive a blob, as a colorful mark that follows the lines of your body.
So it’s of paramount importance to take into consideration how such a blob will feel before its legibility strikes in.
This is the first thing you should keep in mind when researching for inspiration.
Now, how exactly should this research be conducted?
Of course, there is no one-size-fits-all formula to it, as your idea might come to you when you least expect it. But there are some ways of stimulating that eureka moment.

1.1. Scanning For The Idea
Every tattoo begins with an idea. Its concept might be related to a feeling, a loved one, a symbol, a quote…
Take the time to brainstorm and reflect on the personal meaning behind it, and how it could be translated into an image.
You can start by writing down words that connect to the universe you’re aiming for, even if you’re not so sure where you’re going with them.
Remember: actively materializing your thought process, be it through words or doodles, is different than merely thinking about it.
While you may feel busy thinking about your tattoo all the time, it’s much more effective to build upon something you can refer back to and witness it grow into something solid.

1.2. Searching Online
The internet is but an infinite library of bubbling images, after all!
If you’re feeling lost, start by browsing our styles guide so you can visualize all the different possibilities that exist in the world of tattooing.
Once you’ve mapped out an aesthetic territory that resonates with you, searching through tattoo galleries, art books, or online platforms like Pinterest and Instagram for imagery becomes a better-guided exercise.
Online guides for symbolic meaning also help a lot. But you should know that looking for the translation of ideas into images is an ancient quest.
There’s a book by the Italian art historian Cesare Ripa that dates back to the XVI century on the iconology of symbols and emblems that incredibly still holds up in its ability to inspire artists and art enthusiasts.
You can check out the English version here to see if there’s an image that relates to your idea, or that at least works as a starting point for further exploring it.
Step 2: Design Consultation
If you’ve found the exact image you want, you can skip this step and go straight to finding the right tattoo artist for you.
However, if you’ve arrived at an idea of the image you’d like to tattoo but still need help realizing it, you can now start looking for the right professional to do it.
This doesn’t necessarily have to be the same artist that will tattoo you.
Some visual designers specialize in creating tattoo designs, already taking into consideration the anatomy and the readability of the piece.
2.1. Getting a Custom Tattoo Design
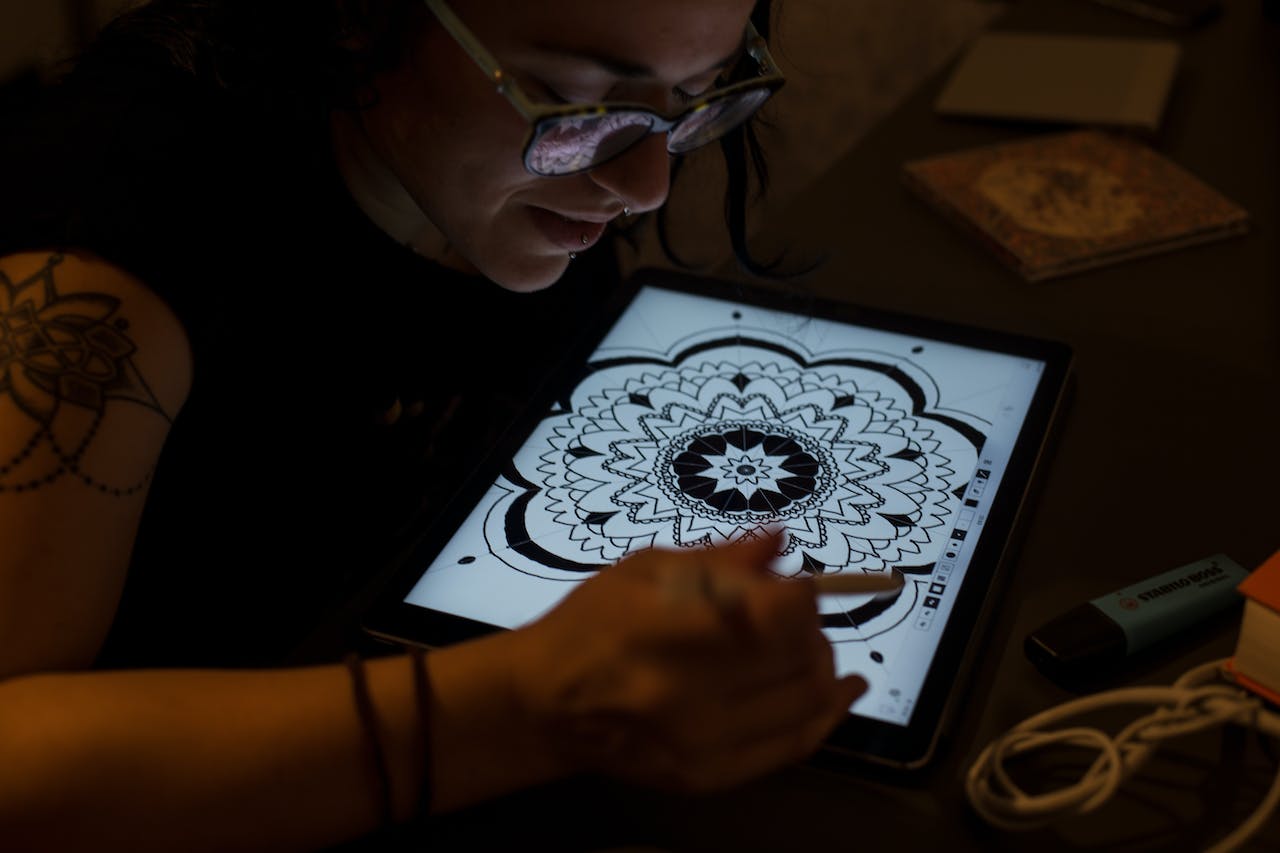
If you feel like you need help refining your concept and translating it into an actual piece of artwork, you can hire a professional to create your tattoo design.
This allows you to review and modify the design before taking it to the tattoo artist.
If you want to discuss your ideas with an experienced professional, we’ve got you covered.
At Tattoos Wizard, we offer a specialized tattoo planning service created to simplify this part of the process.
Share your concepts on our planner, and let one of our specialized designers guide you through the process of turning your inspiration into a fully realized artwork.
Using dedicated software, we can show you how the tattoo will look on your desired body part, helping you determine if it’s the right choice for you.
2.2. Testing Out: Getting a Temporary Tattoo Design
Remember how we said tattoos are essentially blobs like signs or birthmarks?
Well, you might be used to your body as it currently looks but it’s hard to know how everything will feel once a new mark is etched onto it.
There’s a great way of test-driving your idea, though: getting a temporary tattoo.
Explore our online flash tattoo catalog to experiment with designs before making a permanent commitment.
Simply choose the ‘Temporary Tattoo’ option under Extras to receive a stencil that adheres to the skin with water.
This temporary tattoo lasts from 48 to 72 hours, allowing you to experience how your new ink might feel in your daily life.
Even if they’re not the final design you’re getting, you can still choose one that feels similar in shape and style so you’re able to test out how the new blob might feel on your skin before it’s permanently inked.
2.3. Arriving At The Perfect Image
The indelible permanence of tattoos might be frightening, and finding a design idea that trumps this fear may take a lot of time and consideration.
However, always keep in mind that tattoos are a part of one’s history and will age just like a photograph.
So marking a cheerful, impermanent moment might be just as significant as finding an image that has eternal meaning.
Consider the style, size, and placement of your tattoo, keeping in mind factors like visibility and future career implications.
Once you’re finally feeling ready (enough), it’s time to find your tattoo artist.

Step 3: Finding the Right Artist
Choosing the right professional to trust your skin is no easy task.
Tattooing is an ancient craft, and tattoo artists are the ones etching this history onto the skin.
With such a long history, tattooing has developed several different schools with distinct technical and aesthetic approaches to the art.
It might take some time to find the artist that best suits your wishes, but it’s worth taking your time to do some research on the matter.

3.1. Looking For The Perfect Match
Choosing the right tattoo artist is crucial to ensuring a positive experience and a beautiful result.
Research local tattoo shops and artists, read reviews, and view portfolios to find someone whose style aligns with your vision.
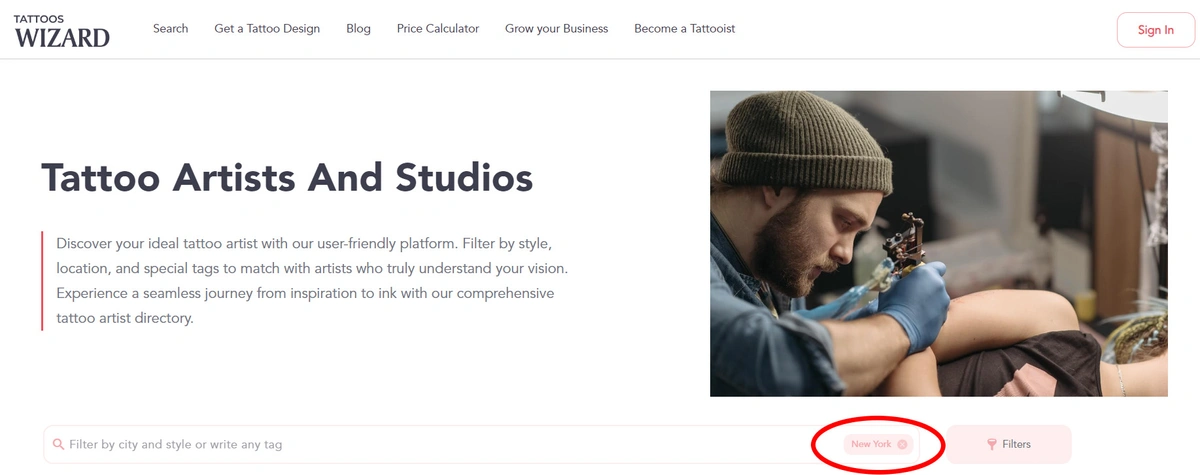
There are several ways of finding artists online. You should definitely start by browsing our online artists catalog through our search engine.
Just enter your city’s name to learn about the best artists working in your area.
If you still need more ways of discovering professionals, you can always relate to our list of the 10 Best Websites to Find Tattoo Artists and Studios.
Don’t hesitate to schedule consultations with multiple artists to discuss your ideas and gauge their expertise and professionalism.
3.2. What To Take Into Consideration:
- Does the artist do third-party designs or only signature pieces? While most artists might have no problem working with designs made by different professionals, some will focus on signature pieces. These may be custom designs based on ideas brought by the client or flash designs made in advance and available through a catalog.
- Is the style right for you? It’s important to stay within style ranges that the selected artist feels comfortable working with. Asking for an anime piece for a mandala specialist might be an awkward situation for both of you.
- Avoid going cheaper. We understand everyone has a budget. But tattoos are not something to be cheap about. Think of the investment and then divide it by your whole life, as this is how long it will last. Will a few extra bucks really hurt your finances that bad, for such a lifelong decision?
3.3. Refining Your Concept
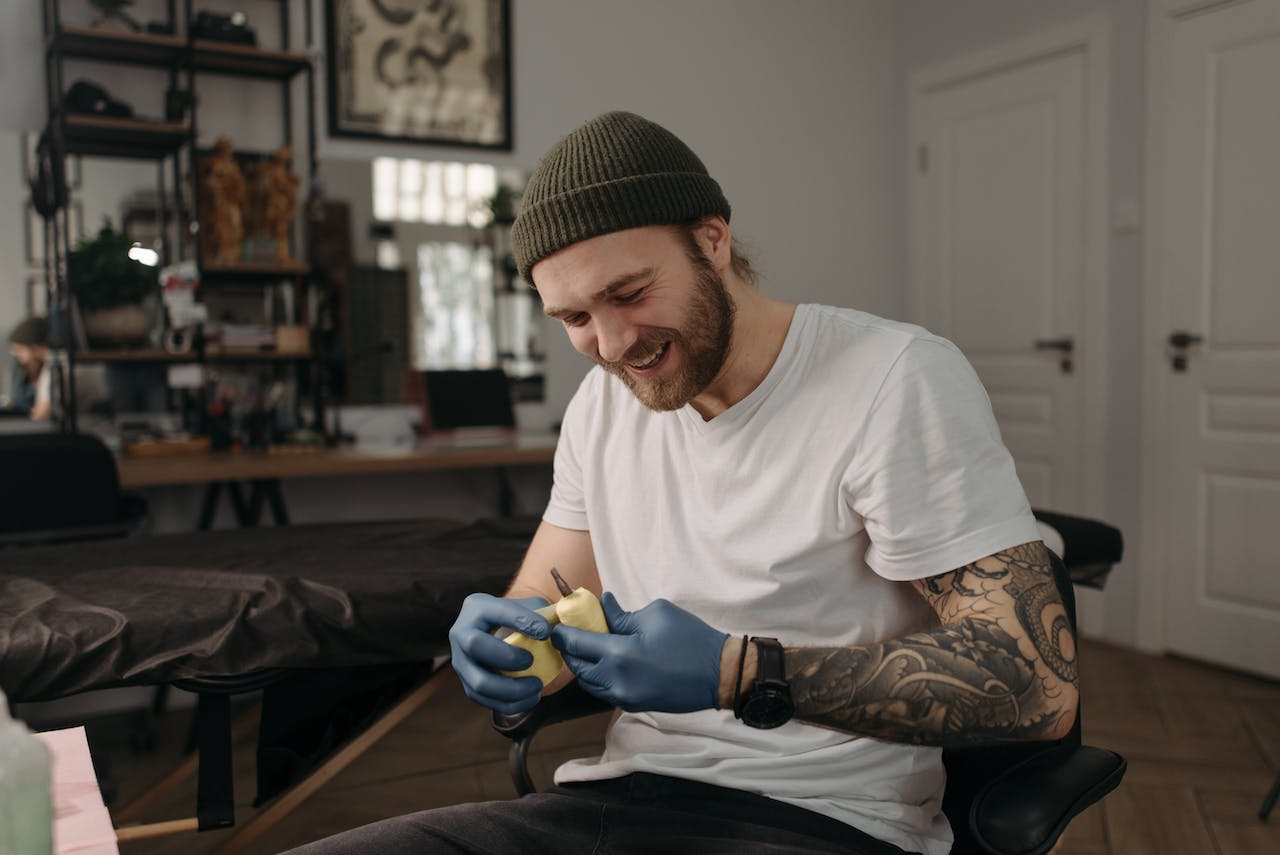
Once you’ve selected an artist, schedule a consultation to discuss your design ideas in detail.
Bring any reference images or sketches you’ve collected and be open to your artist’s suggestions and expertise.
They will work with you to refine your concept and arrive at the definitive design that suits your preferences and complements your body’s natural contours.
Please keep in mind that all your preparations, even your commissioned custom design, will need adjustments by the selected artist for actual tattooing.
This moment is decisive in making sure everything will work out fine technically, aesthetically and anatomically.
Step 4: Booking Your Appointment
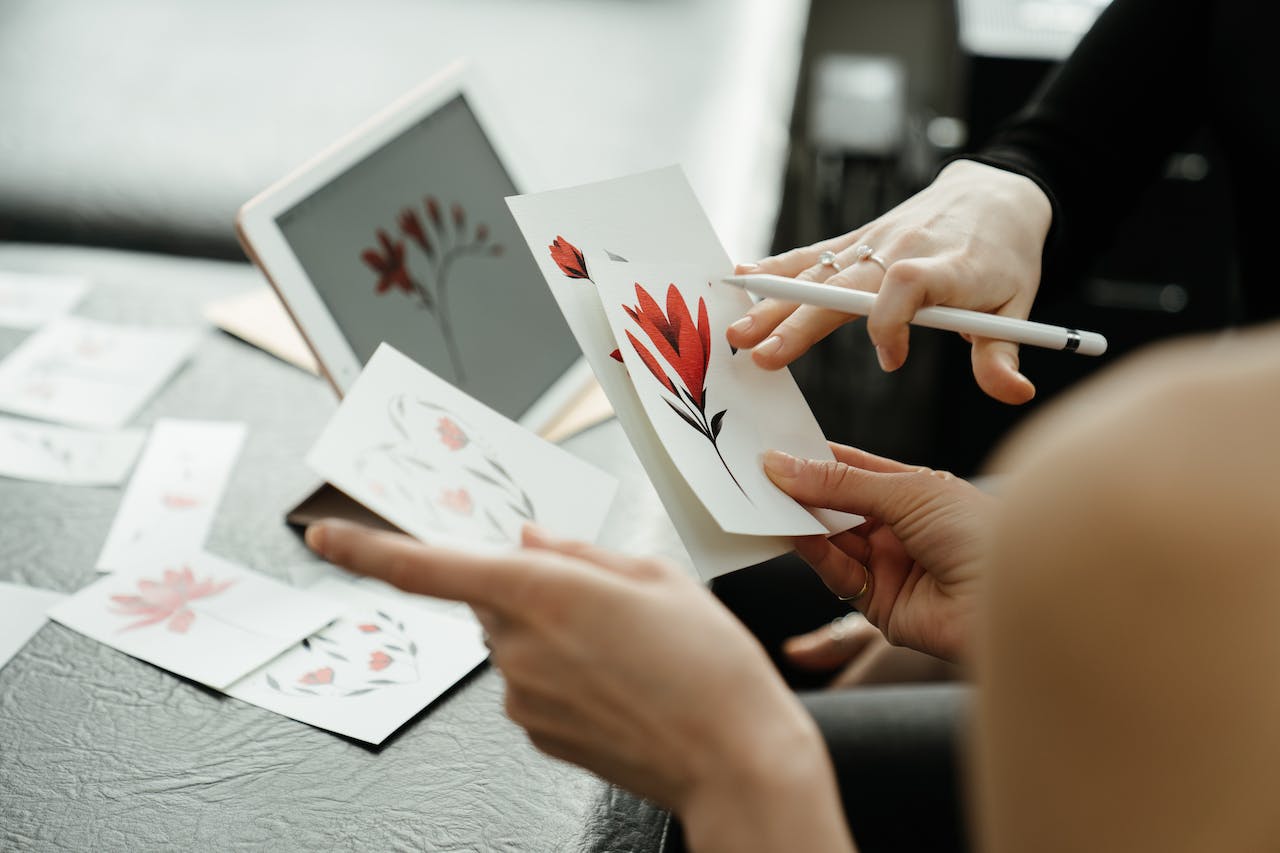
After finalizing your design, it’s time to schedule your tattoo appointment.
Depending on the complexity and size of your tattoo, you may need to book multiple sessions.
Be prepared to pay a deposit to secure your appointment slot, which is typically non-refundable but goes towards the final cost of your tattoo.
Please know that as the aftercare process involves avoiding sunlight exposure for at least a month after tattooing, is best to schedule your session for a season during which you’ll have no problem concealing your fresh ink.
Getting a full back piece in the height of the summer might not be the best way to go.
4.1. Consultation and Deposit
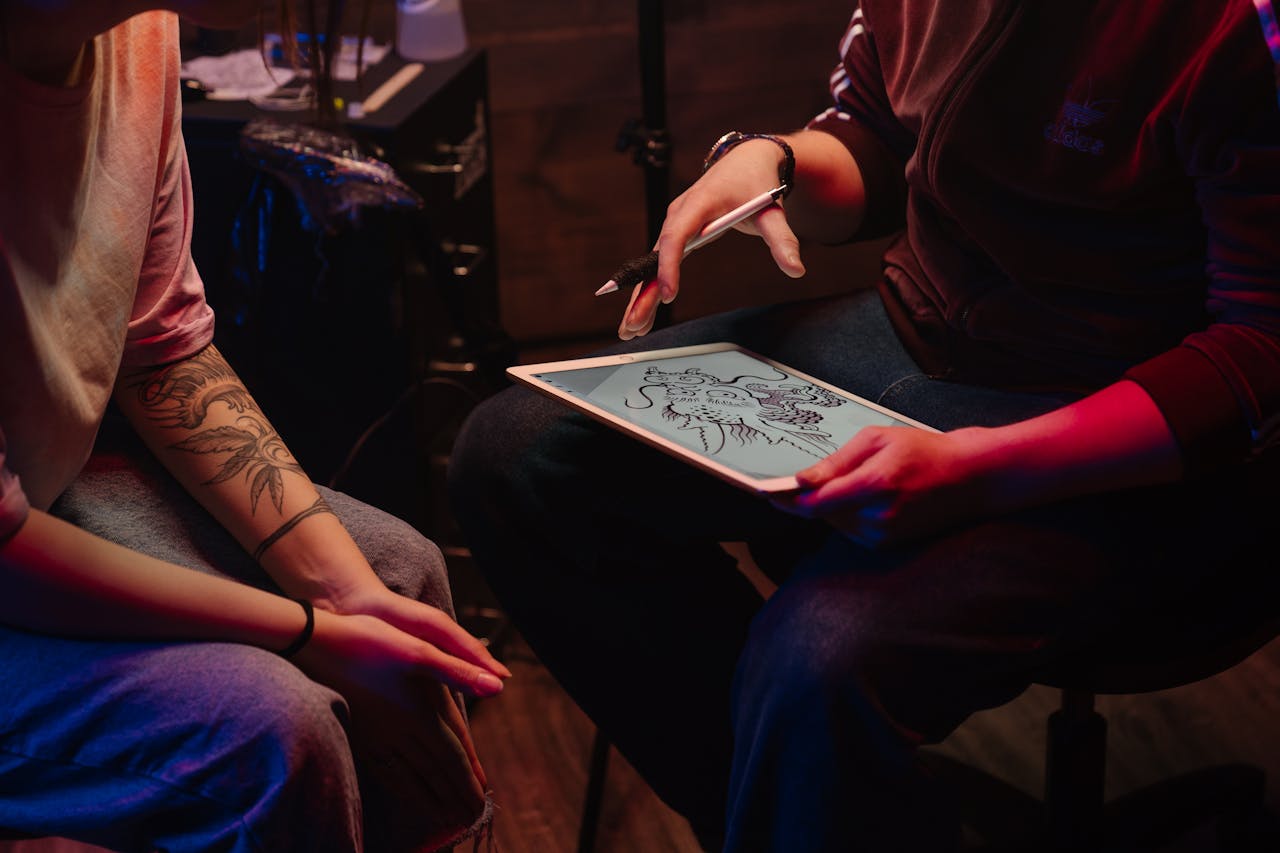
Following your initial consultation, where the artist provides an estimate of the tattooing process duration and discusses any scheduling constraints, it’s time to solidify your appointment.
Paying a deposit, typically a percentage of the total cost or a flat fee, not only confirms your commitment but also reserves your spot on the artist’s calendar.
This deposit is a standard practice in the industry and ensures that both parties are invested in the tattooing process.
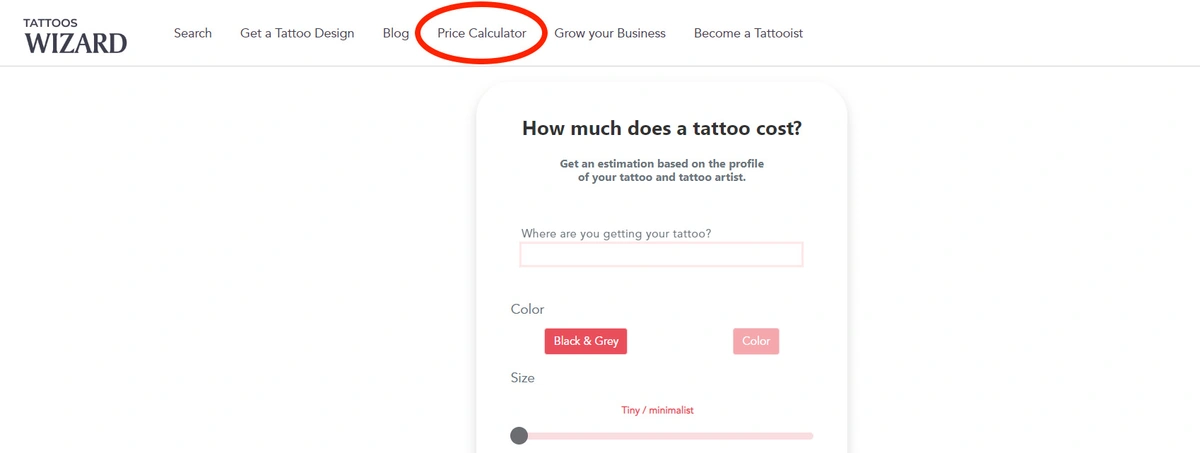
If you want to have an estimate as to how much will your tattoo cost, you can refer back to our Tattoo Price Calculator.
You just need to enter your geographic area, the size and level of detail of your piece, and how experienced/popular is your selected tattoo artist.
Of course this is just meant to give you an idea, as the final price will be determined by the professional you’ve chosen.
4.2. Multiple Sessions and Studio Policies
For complex designs that may require multiple sessions, discuss the artist’s recommendations and plan accordingly.
Take the time to thoroughly review the studio’s cancellation and rescheduling policies to understand any associated fees or penalties, ensuring you’re fully informed before finalizing your appointment.
Being aware of these policies helps you navigate any unforeseen circumstances that may arise and allows for a smoother experience overall.

Step 5: Preparing for Your Tattoo Session
In the days leading up to your appointment, take care of your body to ensure a smooth tattooing experience.
Get plenty of rest, stay hydrated, and eat a nourishing meal before your session.
Avoid consuming alcohol or blood-thinning medications, as they can affect the tattooing process.
Dress comfortably in clothing that allows easy access to the area being tattooed.
5.1. Mental and Physical Readiness
Prioritize both your mental and physical well-being in preparation for your tattoo session.
Take time to mentally prepare yourself by acknowledging any apprehensions and focusing on the significance of the tattoo.
Additionally, ensure you’re physically prepared by getting plenty of rest and staying hydrated in the days leading up to your appointment.

5.2. Dress Comfortably and Bring Entertainment
Choose comfortable clothing that allows easy access to the tattoo area and consider the weather conditions for your session.
Bring entertainment such as a book, magazine, or electronic device with headphones to keep yourself occupied during the tattooing process, which can last several hours.

5.3. Communicate with Your Artist
Before your session, communicate any specific concerns or preferences you have with your artist.
Whether it’s discussing breaks during the session or informing them of any allergies or sensitivities, open communication ensures a smoother and more comfortable experience for both you and the artist.
This collaboration fosters a positive environment for bringing your tattoo design to life.

Step 6: Tattooing Process
On the day of your appointment, arrive at the studio on time and mentally prepare yourself for the tattooing process.
Your artist will begin by cleaning and prepping the tattoo area before transferring the stencil of your design onto your skin.
Once you’re satisfied with the placement, the tattooing begins.
Expect some discomfort or pain during the process, but remember to communicate with your artist if you need breaks or adjustments.
6.1. Pre-Tattoo Preparation and Stencil Placement
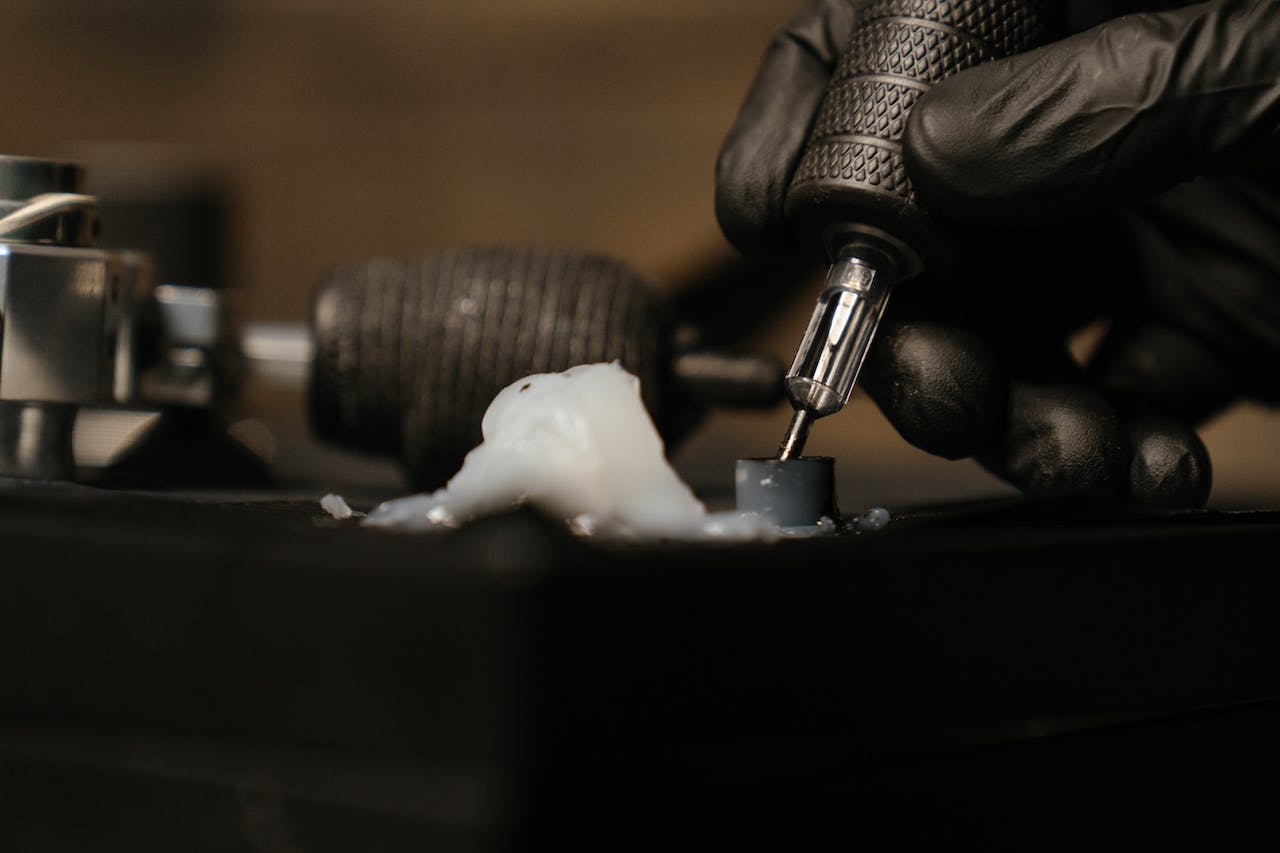
Upon arrival at the studio, your artist will meticulously prepare the tattooing area, ensuring cleanliness and sterilization to prioritize your safety and well-being.
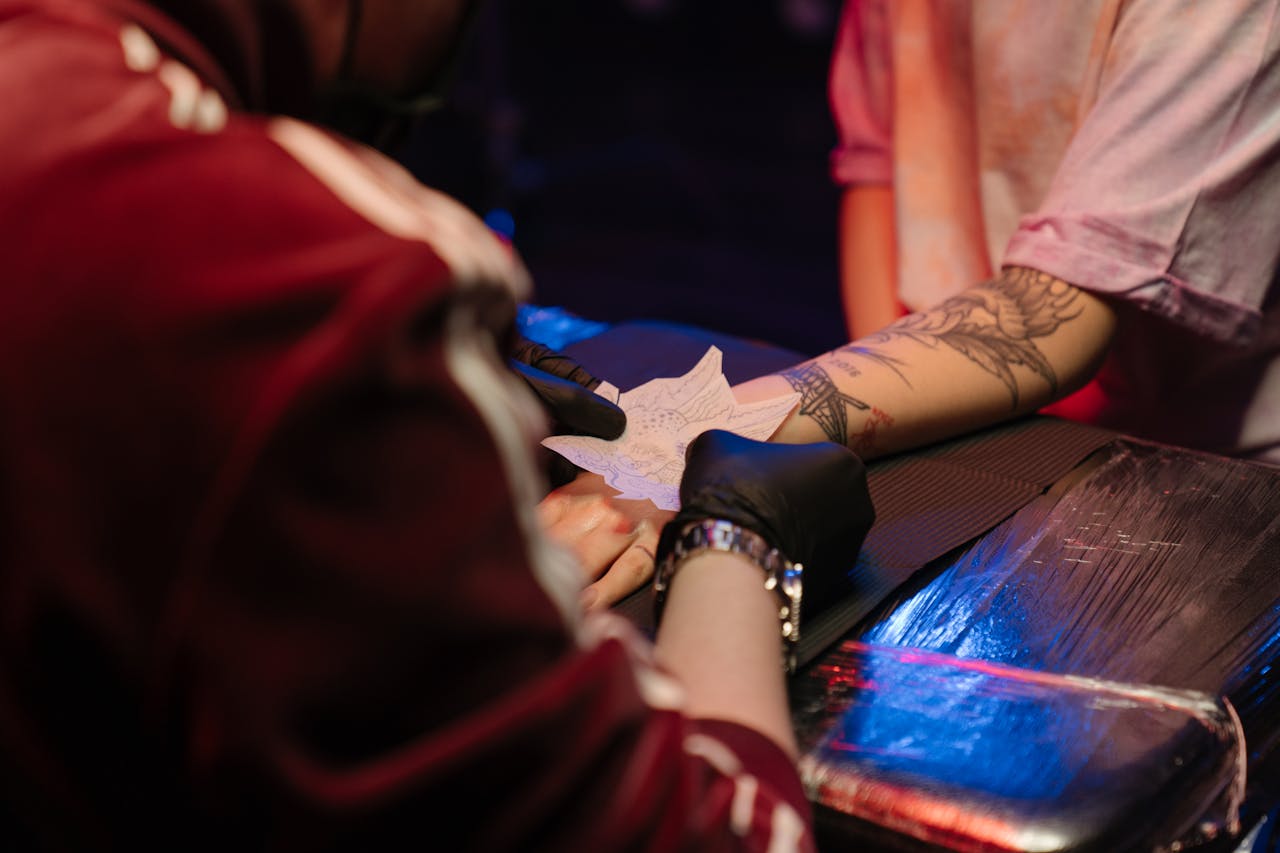
They’ll then transfer the stencil of your design onto your skin, collaborating with you to ensure optimal placement and symmetry, taking into account factors like body contours and visibility.
6.2. Tattooing Process and Breaks
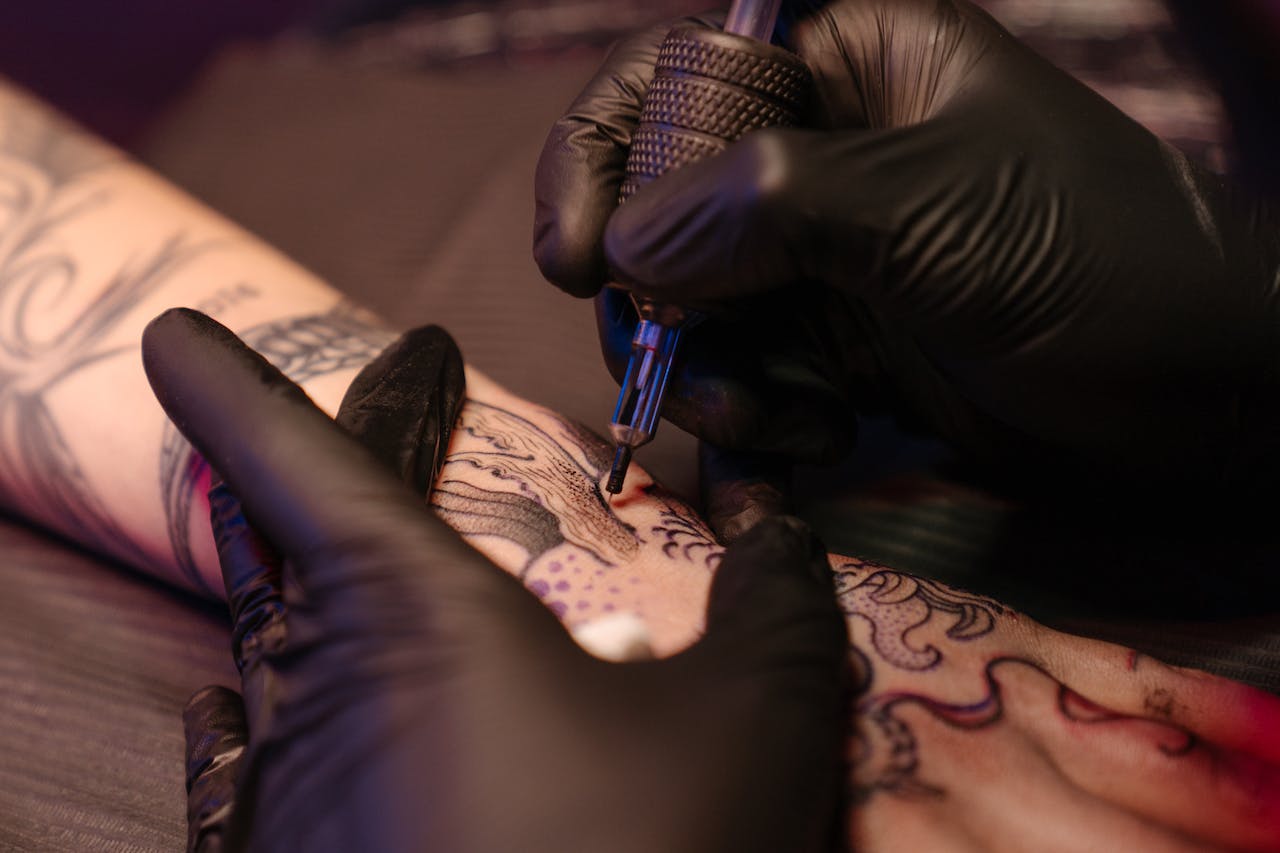
With the stencil in place, your artist will begin the tattooing process, methodically layering ink and shading to bring your design to life, paying close attention to detail.
Expect some discomfort, but your artist will provide breaks as needed for you to stretch, hydrate, or simply take a breather, prioritizing your comfort throughout the session.
6.3. Final Touches and Aftercare Instructions
As the tattoo nears completion, your artist will make final adjustments for color consistency and shading, ensuring your satisfaction with the finished design.
They’ll then provide detailed aftercare instructions to promote proper healing, emphasizing the importance of cleanliness, moisturization, and protection from sun exposure during the healing process.
Following their guidance ensures your new tattoo heals beautifully and stands the test of time, allowing you to proudly showcase your meaningful artwork.
Step 7: Aftercare
After your tattoo is complete, your artist will provide detailed aftercare instructions to promote proper healing and ensure the longevity of your tattoo.
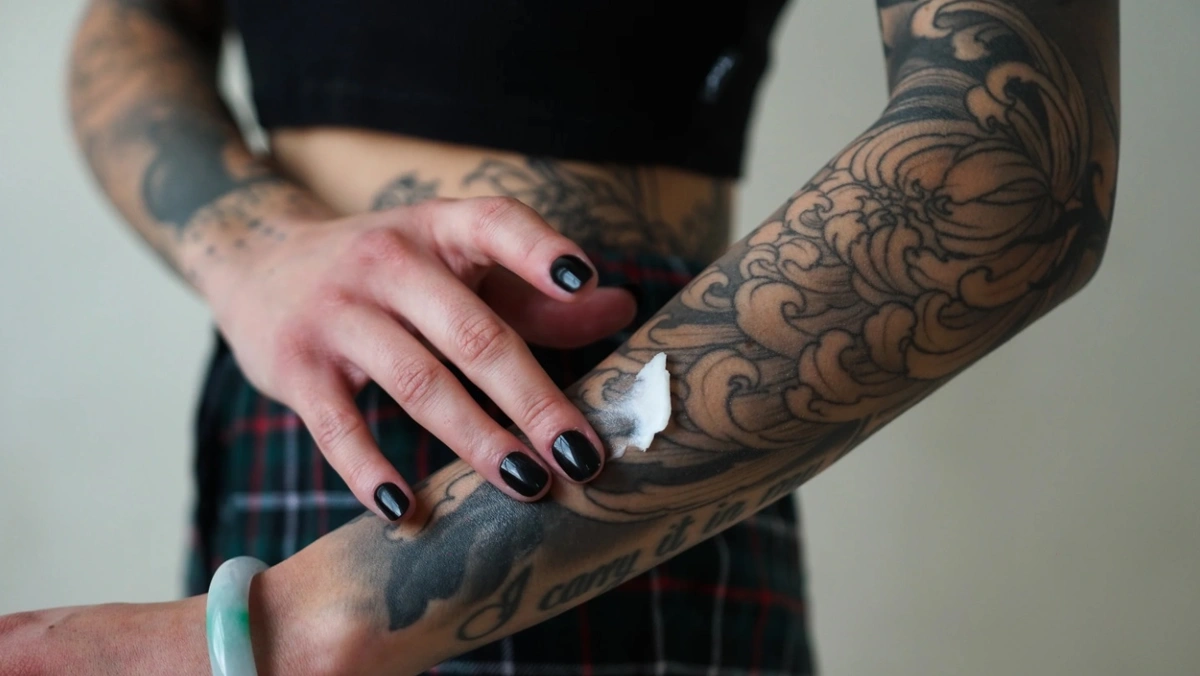
Follow their guidance, which typically includes keeping the tattoo clean, moisturized, and protected from the sun during the healing process.
Here’s everything you need to know about the aftercare process:
7.1. In The Studio
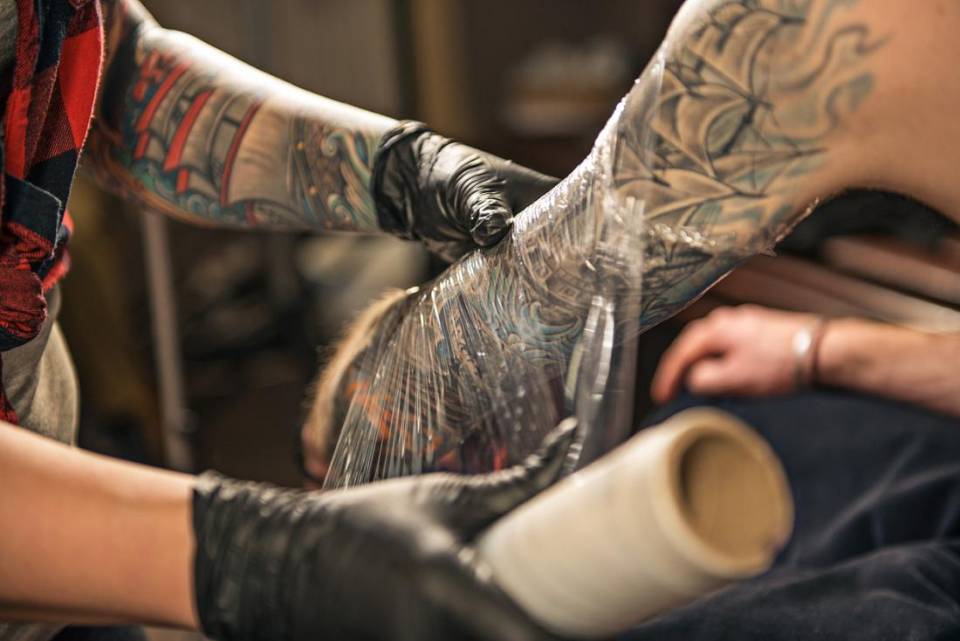
After completing the tattoo, the artist cleans the area with soap and lukewarm water, covers it with preferred material to prevent infections, and may apply ointment or lotion before concluding their run.
7.2. Going Home
After getting your tattoo, it’s advisable to remain in the studio for up to three hours to minimize movement, then carefully remove the wrap and gently wash the area with lukewarm water once you’re home.
7.3. How Long Will It Take To Heal?
The healing process for your tattoo depends on your immunity and hygiene, typically taking 2 to 3 weeks for the skin to heal sufficiently for normal activities, and two to three months to fully recover.
7.4. Bathing And Showering
Use lukewarm water and special tattoo aftercare soap recommended by your tattooist or pharmacist, pat dry gently with a towel without harsh rubbing, opt for quick showers instead of baths, limiting them to no more than four minutes, and refrain from swimming until the tattoo has fully healed.
7.5. Aftercare Lotions
Use an aftercare lotion recommended by your tattoo artist, applying it two to three times a day to aid healing but avoiding overuse, though some experts caution against its use due to potential drawbacks.
7.6. Peeling Skin
Allow scabs and peeling skin to naturally fall off to avoid damaging your tattoo, as pulling them prematurely can negatively impact its appearance, akin to tearing a piece of paper with writing on it.
7.7. Itchy Skin
Experiencing itchiness after getting a tattoo is common and typically lasts about a week, but resist the urge to scratch; distract yourself with other activities, and consider gentle techniques like taking a short shower or tapping the itchy area to alleviate discomfort.
7.8. Clothes
Tattoo experts advise wearing loose clothing that covers but doesn’t touch the tattooed area to facilitate faster healing and prevent damage to the tattoo, although this may be challenging for those who work.
7.9. Sleep
Avoid laying directly on the side of your new tattoo while sleeping, and if possible, use an air conditioner in your room instead of heavy blankets or quilts, to prevent discomfort and potential damage to the healing tattoo.
7.10. Sun Exposure
Avoid exposing your healing tattoo directly to sunlight as it can be harmful, even for short periods; use sunscreen gently or consider using an umbrella for protection if sunscreen is not an option.
Step 8: Enjoy Your New Ink
As your tattoo heals and settles into your skin, take pride in the meaningful artwork you’ve chosen to carry with you.
Embrace the journey of self-expression and wear your tattoo proudly as a reflection of your unique identity and experiences.
In conclusion, getting a tattoo is a multi-step process that requires careful thought, research, and collaboration with a skilled artist.
By following these steps and approaching the experience with patience and respect, you can embark on a transformative journey of self-expression and adornment that will last a lifetime.







No Comment! Be the first one.